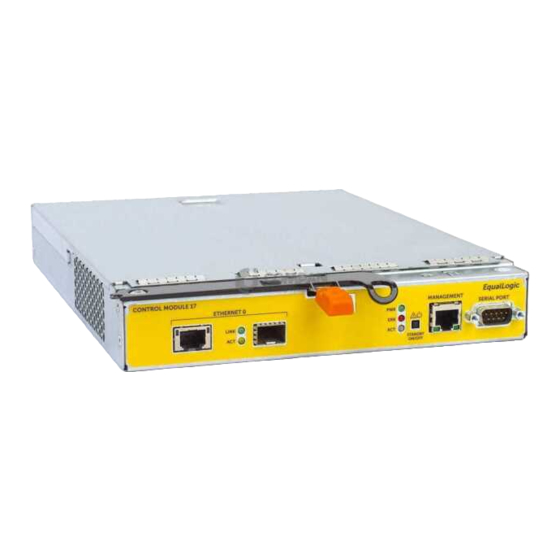
Dell PS4110 User Manual
Windows-based client and server utility
Hide thumbs
Also See for PS4110:
- Hardware owner's manual (48 pages) ,
- Hardware manual (50 pages) ,
- Overview (7 pages)
Table of Contents
Advertisement
Quick Links
Download this manual
See also:
Hardware Owner's Manual
Advertisement
Table of Contents

Summary of Contents for Dell PS4110
- Page 1 Dell Lasso Version 4.1 User’s Guide...
-
Page 2: Notes And Cautions
Other trademarks and trade names may be used in this publication to refer to either the entities claiming the marks and names or their products. Dell Inc. disclaims any proprietary interest in trademarks and trade names other than its own. -
Page 3: Table Of Contents
Contents Introduction ......Key Features ......What’s New in This Release? . - Page 4 Loading Configuration File ... . . Upload Existing Collection ... . . Single Device Collection ....Importing Customer Configuration File .
-
Page 5: Introduction
The collected data is saved as a .zip file on the local system. Optionally, you can enable Lasso to automatically upload the report to Dell Technical Support. Benefits of using Lasso: •... -
Page 6: What's New In This Release
What’s New in This Release? • Support to collect diagnostic information from the Group Lead and member, when a member IP address is provided. • Option to automatically upload the collection report to Dell Technical Support site. • Support for the following devices: –... - Page 7 Server Program (BASP) software. • Support to collect NAS Appliance information from the EqualLogic Group. • Support for firmware version 5.2 on Dell EqualLogic Arrays. • Support to collect and parse the following attributes from EqualLogic Array: – ROM Level –...
-
Page 8: Supported Storage Devices And Operating Systems
Support to collect DCB information from PowerConnect B-Series Switch. Supported Storage Devices and Operating Systems For information on the storage devices and operating systems (Windows and UNIX), see the Readme available with the installer or go to support.dell.com/ manuals. Click Software Serviceability Tools Lasso. Introduction... -
Page 9: Installing And Uninstalling Lasso
Windows Server Core is not supported. To install Lasso: 1 Double click the .msi file. The Welcome to the Dell Lasso Installation Wizard is displayed. 2 Click Next. The Dell Software License Agreement is displayed. 3 Click I accept the license agreement and click Next. -
Page 10: Upgrading Lasso
– Save Environment, Username, and Password — Saves all SAN configuration details, user name, and password. It is recommended to use this option to run Lasso multiple times and avoid re-entering configuration and security details. – Save Environment and Username only — Saves all SAN configuration details and the user name. -
Page 11: Modifying Lasso Installation
Modifying Lasso Installation After installing Lasso, you can modify the components that are installed. To modify the components: 1 Double-click on the .msi file. The Application Maintenance window is displayed. 2 Select Modify and click Next. The Ready to Modify the Application window is displayed. 3 Click Next. -
Page 12: Using Cli
This option differs based on the operating system. 2 Select Dell Lasso (4.1) and click Remove. 3 On the Are you sure you want to uninstall Dell Lasso? prompt, click Yes to uninstall Dell Lasso. From the Application Maintenance Window To uninstall Lasso from the Application Maintenance Window: 1 Double-click the installed .msi file. - Page 13 Installing and Uninstalling Lasso...
- Page 14 Installing and Uninstalling Lasso...
-
Page 15: Using Lasso
(.xml format) for later use. Lasso collects data for the selected devices and generates a report that can be uploaded to Dell Technical Support site. This section provides information to use Lasso to collect data about various storage devices in your Storage Area Network (SAN). -
Page 16: Running Lasso
Use this option to create a new configuration and generate a report. To collect data using GUI: 1 Click StartProgramsDellLasso and click Lasso. The Welcome to Lasso window is displayed. 2 Select Start with a new configuration and click Continue. - Page 17 For example, c:\Users\<user name>\Dell\Lasso\results\. For information about the collected files, Generated File Formats. To immediately upload the collection package to Dell, select Yes. Else, • select No. • To save the configuration details with a password for later use, select Yes.
-
Page 18: Use Existing Configuration
Before using this option, make sure that a configuration is saved in the Lasso installation directory. To use an existing configuration: 1 Click StartProgramsDellLasso and click Lasso. The Welcome to Lasso window is displayed. 2 Select Use an existing configuration and click Continue. -
Page 19: Upload Existing Collection
2 Select Upload an existing collection and click Browse. Specify the file and click Continue. A message displays indicating that uploading to Dell is in-progress. 3 After the confirmation message is displayed, click Finish to close the tool. Single Device Collection For more information, see Lasso Online Help. -
Page 20: Generated File Formats
An encrypted XML output file with a .gpg extension. The HTML files are: • A HTML output file called SANconfiguration.html. To access the XML and HTML files, go to USERPROFILE%\Dell\ Lasso\results directory. Viewing Reports To view the Lasso collection report, do any of the following: •...


