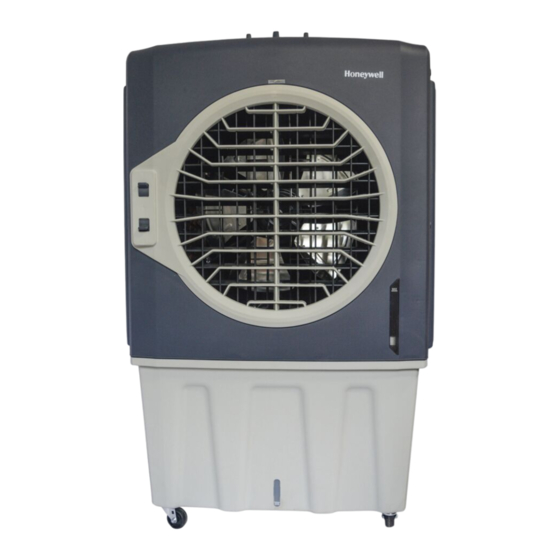
Summary of Contents for Honeywell CL802PE
- Page 1 Portable Evaporative Air Cooler User Manual Read and save these instructions before use Model: CL802PE / CO802PE www.honeywellhomecomfort.com E-mail: info@honeywellhomecomfort.com...
- Page 2 CASTER WHEEL COVER INSTALLATION Figure 1. Location of caster wheels after installing caster wheel covers. Caster wheel with brake Caster wheels Figure 2. Bottom View LB - Left Back Side, RB - Right Back Side, LF - Left Front Side, RF - Right Front Side Front Back Installation kits included:...
- Page 3 CASTER WHEEL COVER INSTALLATION Step 1: Step 2: Unscrew all 4 caster wheels Install the caster cover with caster wheel Step 3: Step 4: Tighten the 4 screws on each caster wheel Assemble the 2 caster wheels (without lock) with LF & RF caster bracket Step 5: Step 6: Assemble the 2 caster wheels (with lock)
-
Page 4: Parts Description
PARTS DESCRIPTION Control Panel Rear Grill Screws Lever for Horizontal Louvers Rear Grill Louvers Water Tank Water Fill Door Power Cord & Plug Left Side Grill Water Inlet Valve Front Grill Honeycomb Cooling Media Water Level Indicator Drain Plug Casters WARNING -- READ AND SAVE THE AIR COOLER SAFETY &... -
Page 5: Use And Operation
USE & OPERATION CONTROL PANEL SPEED COOL TIMER POWER POWER SLEEP FUNCTION BUTTONS POWER Press the POWER button to turn the unit on. The cooler will start automatically at medium speed. After a few seconds the speed will switch to low. To turn the unit off, press the button again. SPEED Press the SPEED button repeatedly to change the speed between High (H) - Mid (M) - Low (L) - Sleep (SLEEP). - Page 6 USE & OPERATION (CONTINUED) REMOTE CONTROL POWER ON / OFF ON/OFF MODE SPEED Low / Medium / High / Sleep TIMER SWING SPEED MODE Evaporative Cooling On / Off SWING Controls the motion of the louvers TIMER Controls the Timer function for automatic off NOTE: •...
-
Page 7: Filling With Water
USE & OPERATION (CONTINUED) FILLING WITH WATER It is ideal to use the Continuous Water Supply Connection to run the unit for long periods of time without refilling the tank. This also helps prevent pump failure in case the cooler is running with inadequate water in the tank. - Page 8 USE & OPERATION (CONTINUED) FILLING WITH WATER (CONTINUED) Note: The water capacity refers to the total volume of water that can be contained within the air cooler water tank and water distribution system. The water capacity in the tank at the “Max.” indicator level may be lower than the actual water capacity of the air cooler.
- Page 9 USE & OPERATION (CONTINUED) CLEANING & DRAINING THE WATER TANK If the cooler will not be used for a long period of time, please refer to the STORAGE & MAINTENANCE GUIDELINES located in the separate Safety & Maintenance Guide. WARNING: Before cleaning the unit, switch the unit OFF and disconnect from the power outlet.
- Page 10 USE & OPERATION (CONTINUED) CLEANING THE HONEYCOMB COOLING MEDIA (CONTINUED) Removing the Honeycomb Cooling Media: Remove the screws from the Rear Grill of the Air Cooler. Carefully pull out the Rear Grill from the Air Cooler. The Honeycomb Cooling Pad is secured on the Rear Grill by two Horizontal Bars that are fixed in place by two screws on the Left and Right Sides of these Horizontal Bars.
- Page 11 Jmatek India Private Limited Made in India © 2022 JMATEK Limited. All rights reserved. Unit No. 507, 5th Floor, The Honeywell Trademark is used under license Vipul Business Park, Sohna Road, from Honeywell International Inc. Sector-48, Gurugram-122018, Haryana Honeywell International Inc. makes no representations or warranties with respect to this product.


